
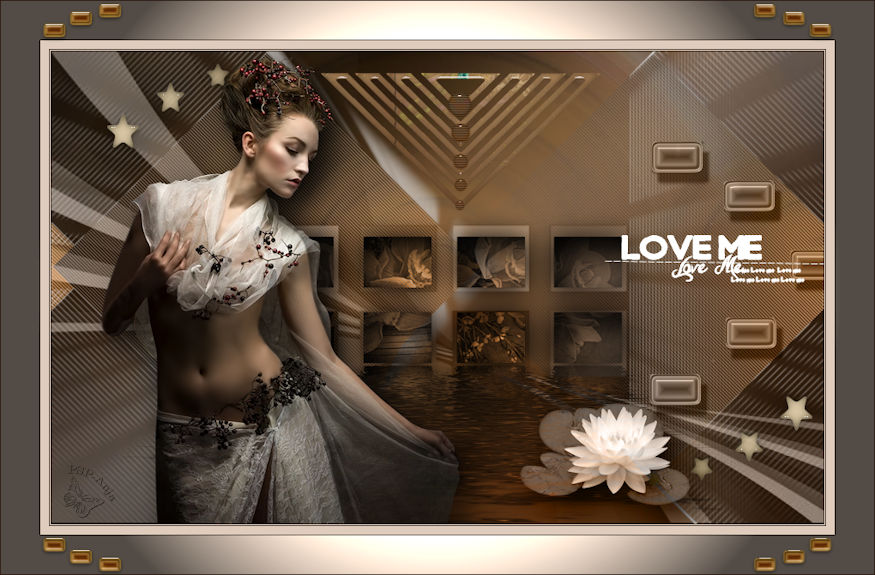
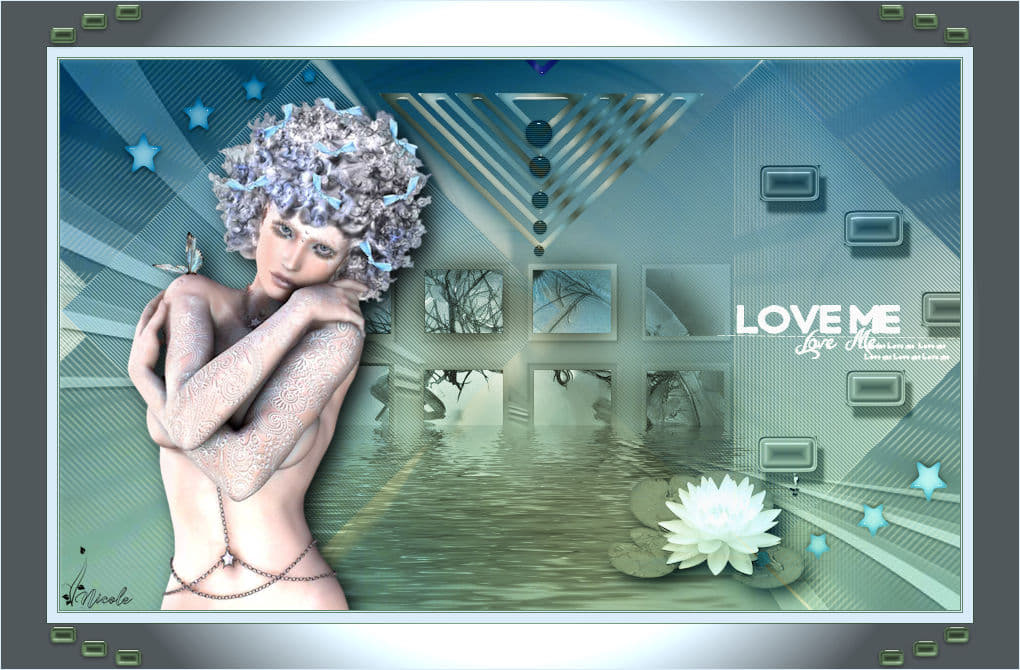
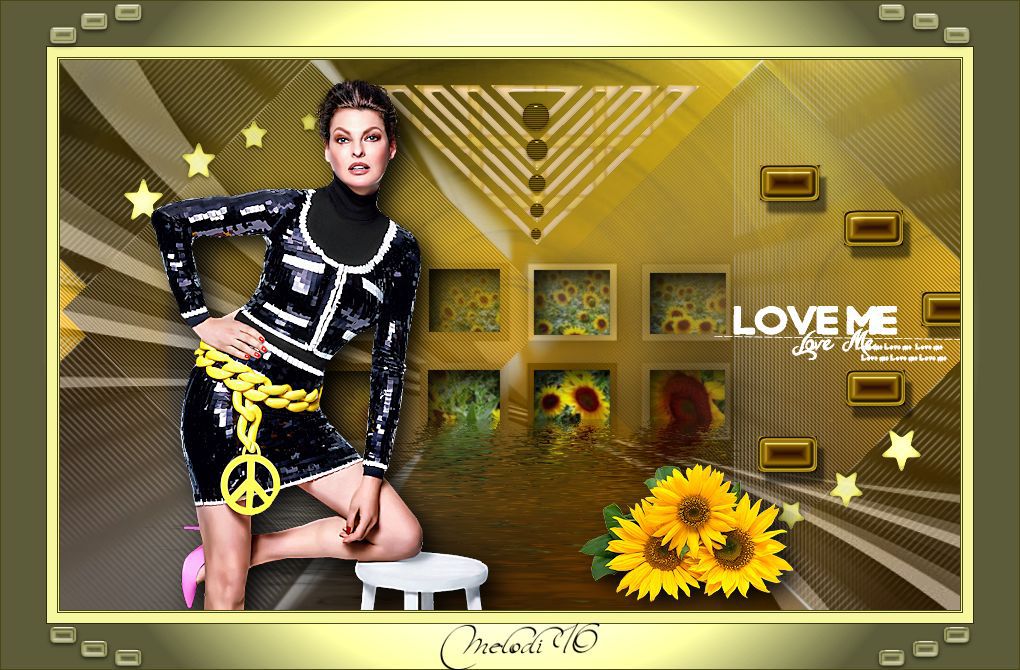
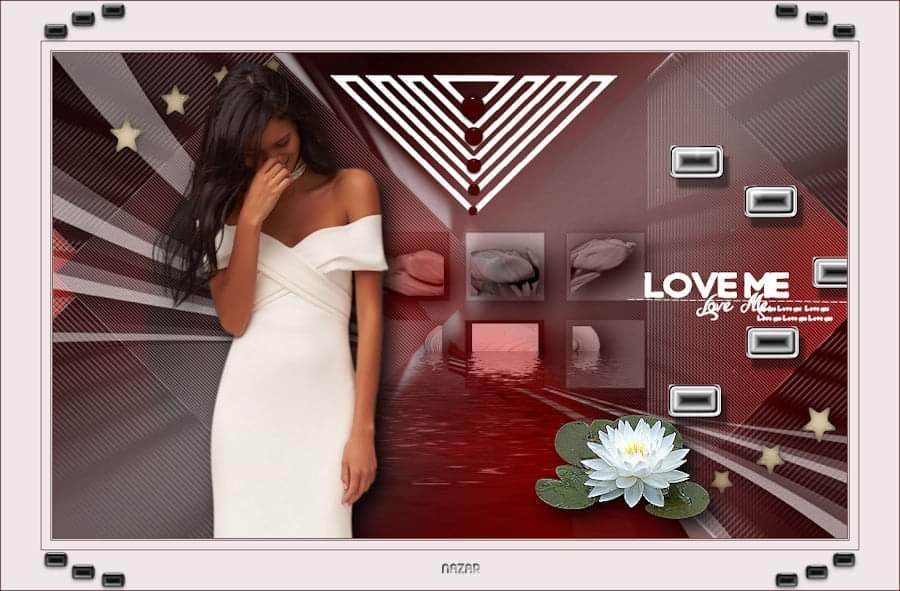
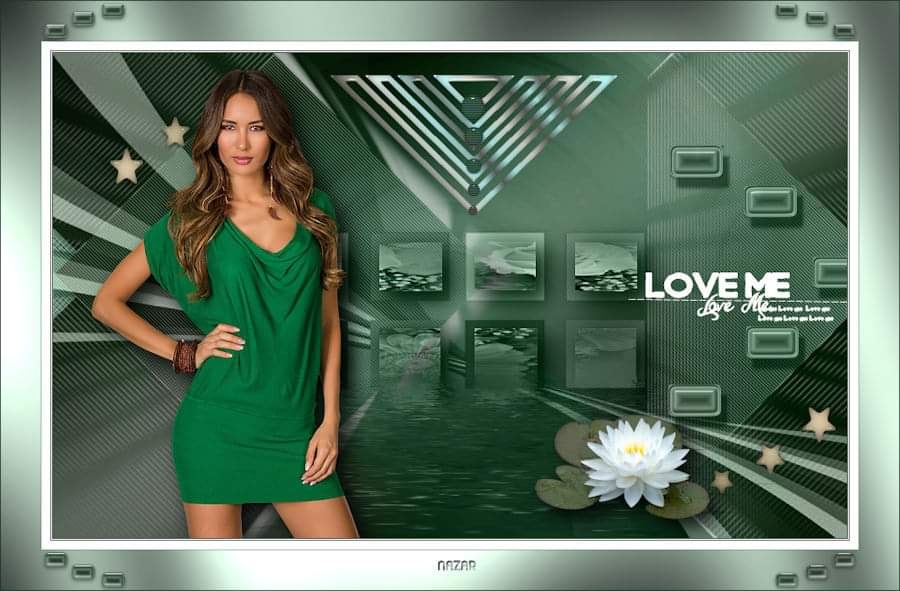
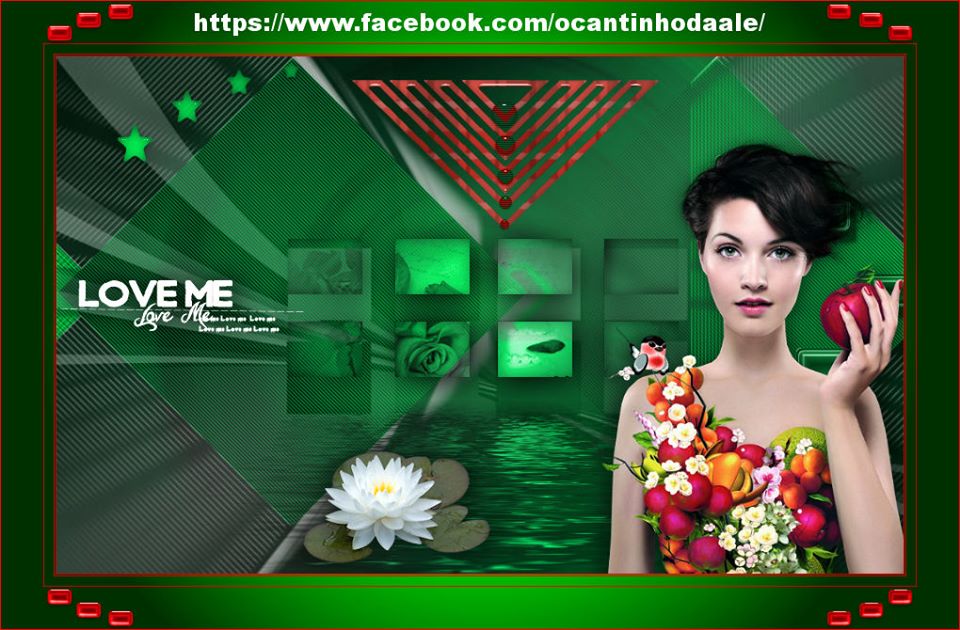
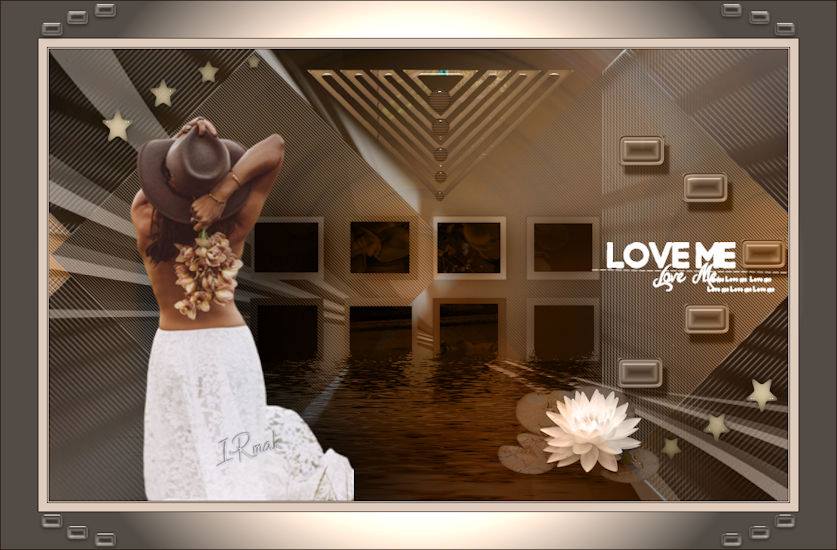
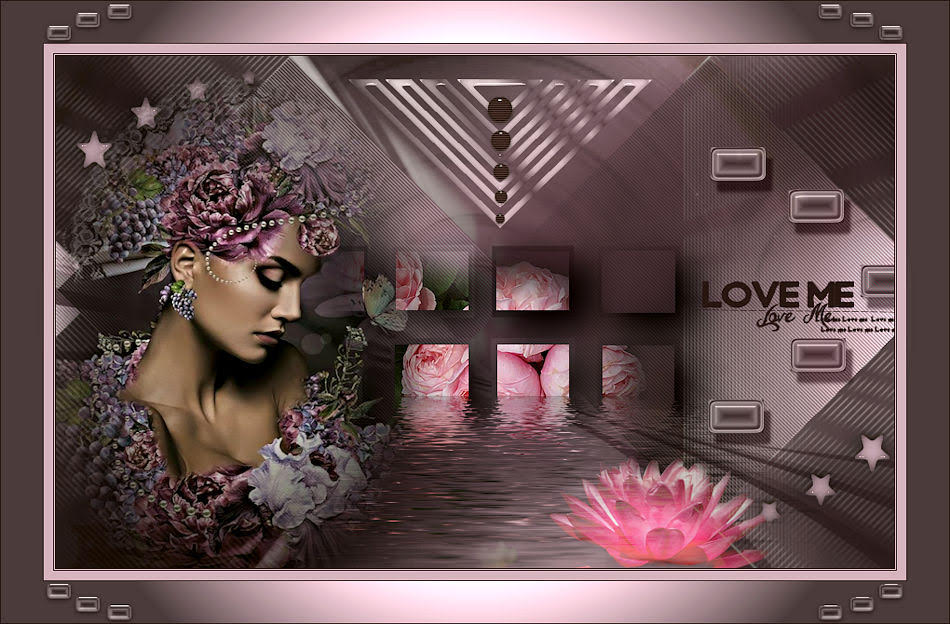
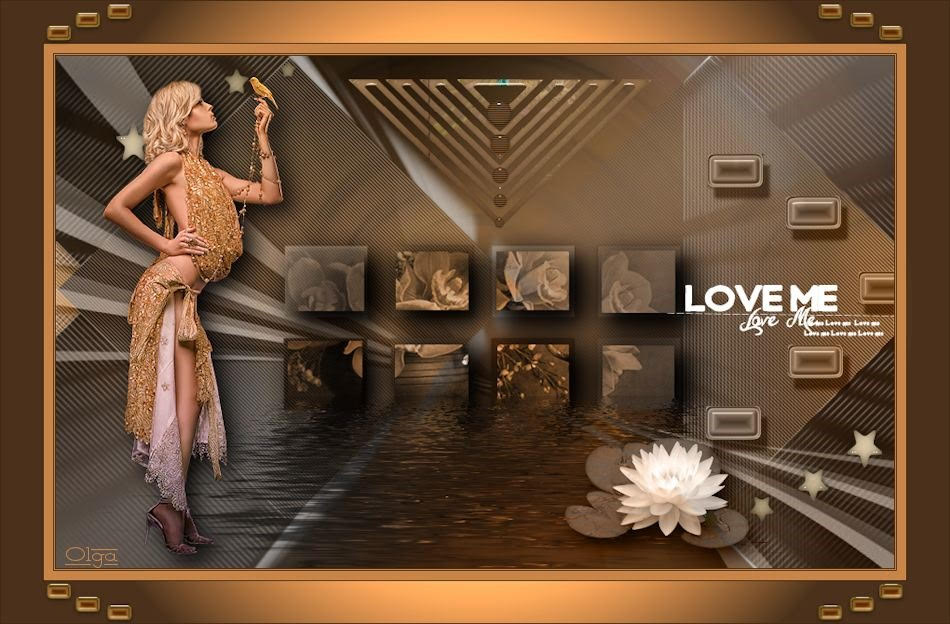
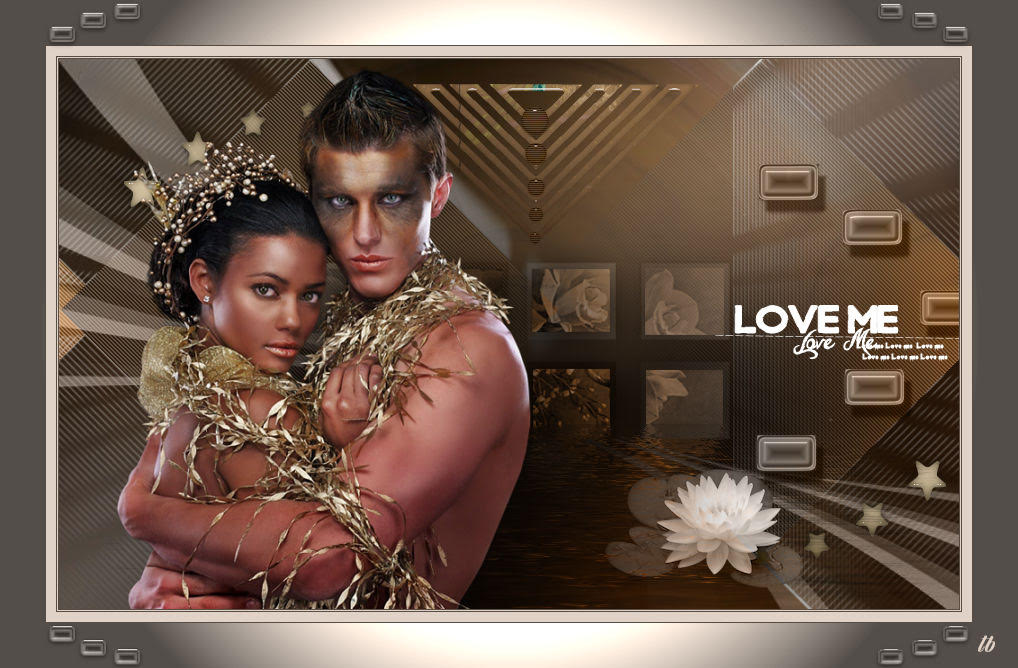
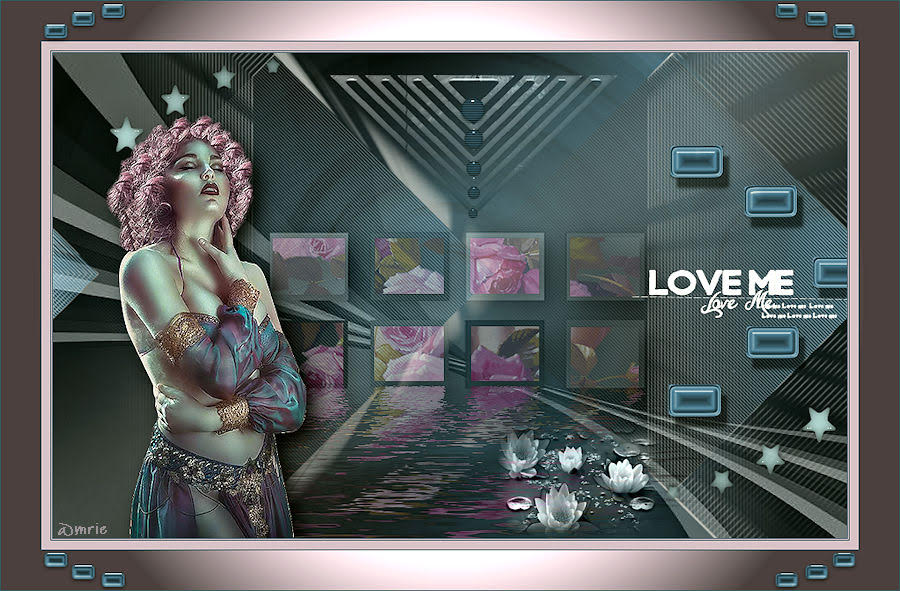
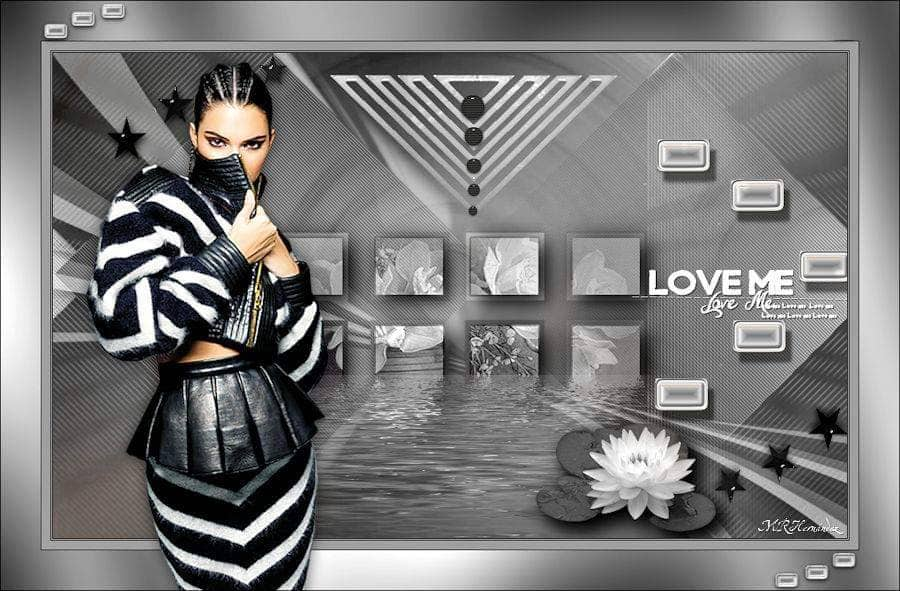
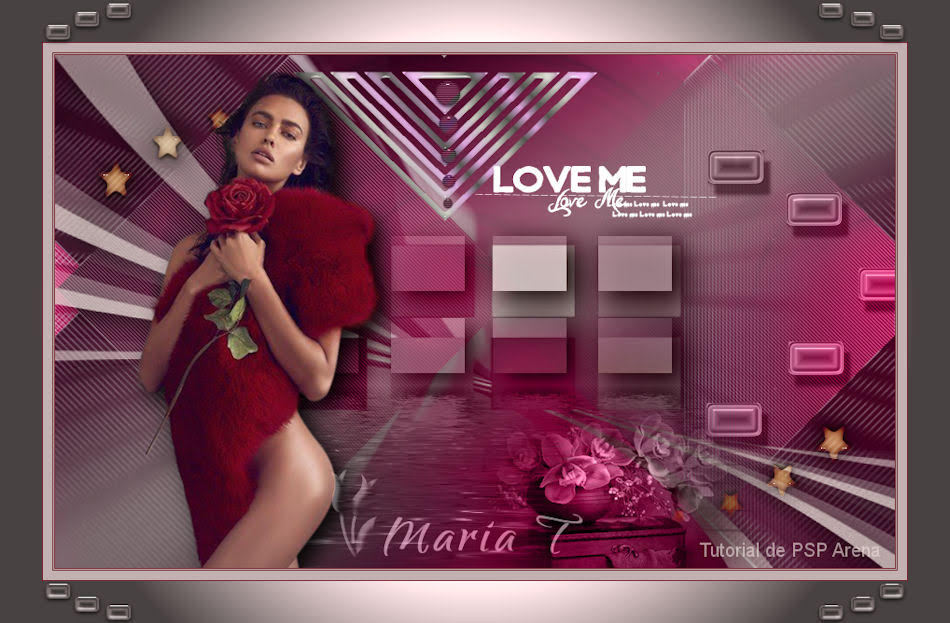
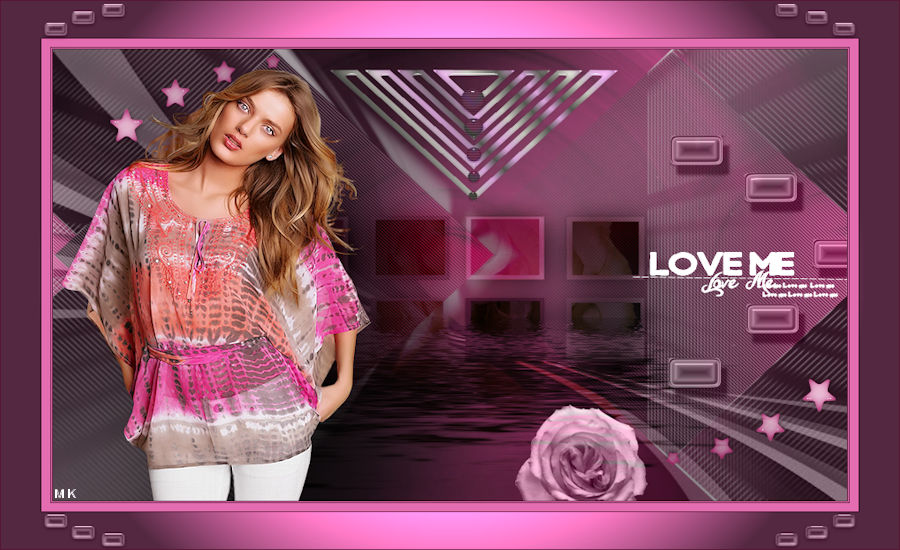
LOVE ME

Love Me Tutorial
This tutorial is written in PSP x8
Translater


Nederlandse vertaling door Lisette Maggen
Onze dank hiervoor 
Danke für die Deutsch Übersetzung Anja / fotodesign-anja.nl


Tube
Animabelle
LB Tubes
Pulugins
Penta.com
Alien Skin Eye Candy 5: Impact
Flaming Pear
Mask
GraphicsBeatrice
Metaryel

Preparation:
Properties Foreground; set your Foreground color to #dfccbc
Filter Factory Gallery A
Mask
GraphicsBeatrice
Metaryel
Properties Foreground; set your Foreground color to #dfccbc
Properties Background; set your Background color to #2d190c
1.File/ New - Open 900x550 Transparent Image
2.Selections _ Select All
3. File - Open ımage Sah Love me Background
4.Edit-Copy - Paste ın to selection
5.Selections - Select none
6.Selections - Load / Save Selection - Load Selection From Disc - Sah Love Me Selection 1
7.Selections - Promate Selection to Layer
8.Effects - Pente.com - jeans

9.Effects - Image Effects - Seamles Tiling

10.Selections - Select None
11.Effects - Alien Skin Eye Candy 5: Impact / Backlight /Sah Love Me
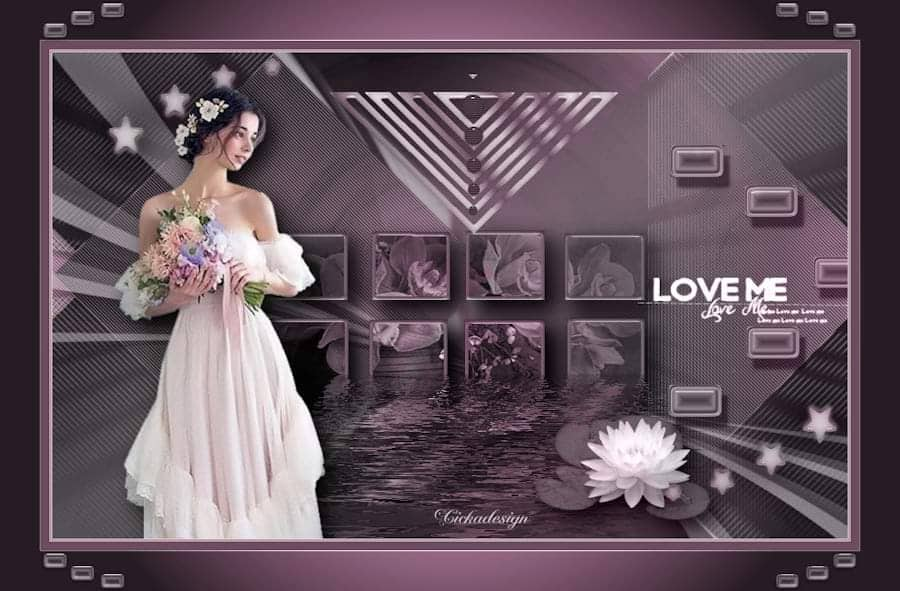
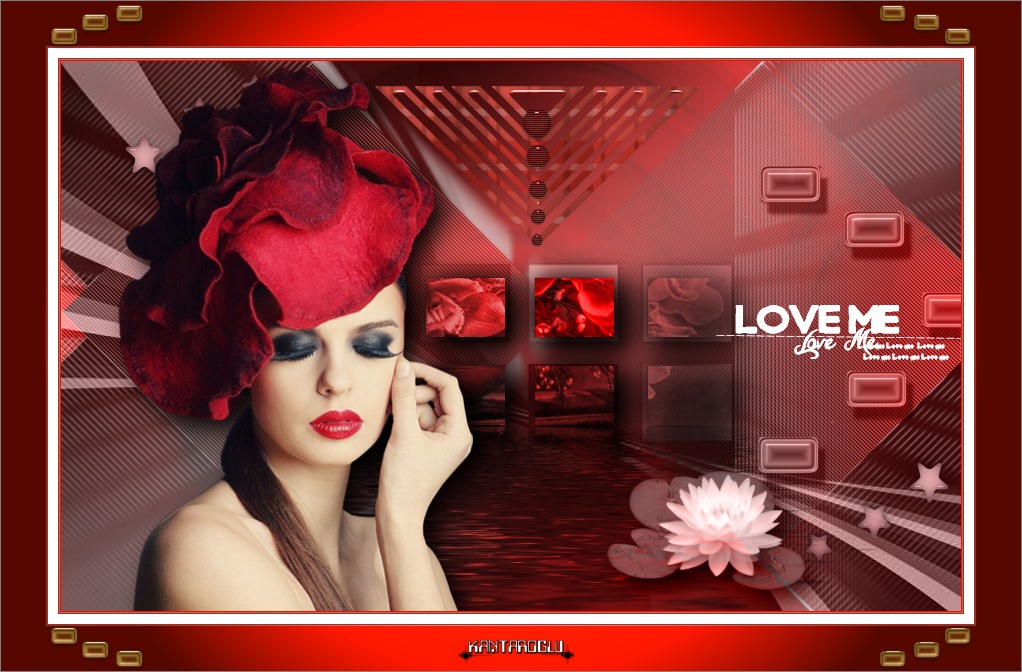
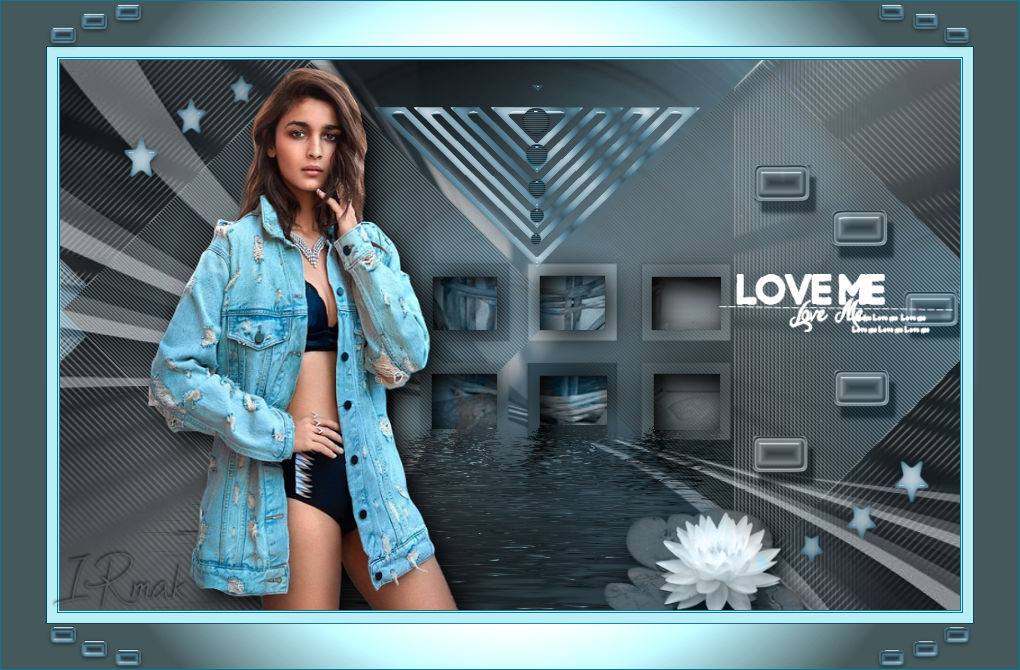
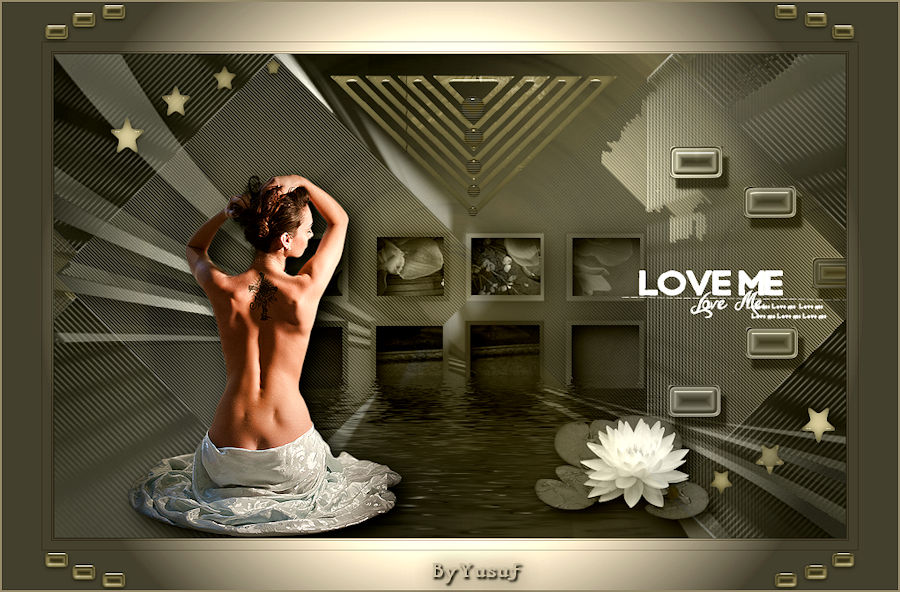
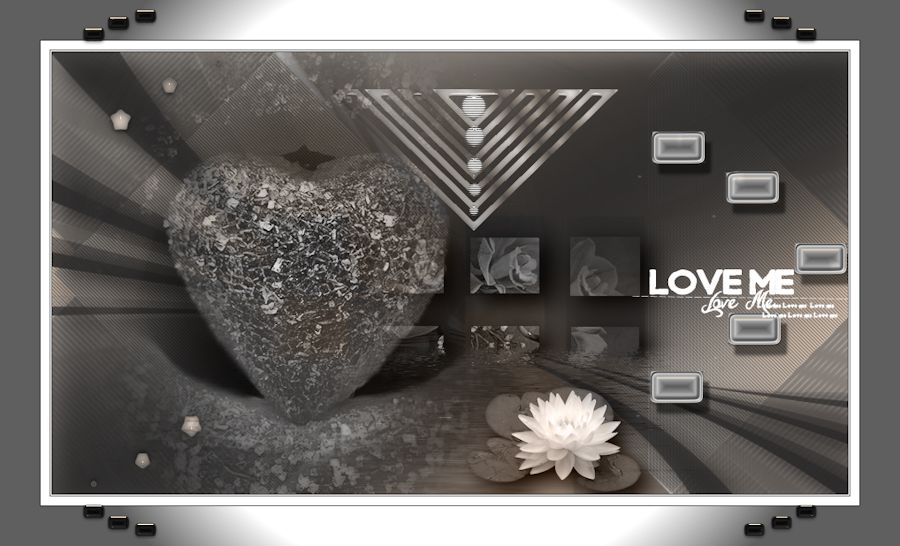
Your work looks like this…

12.Layers - New Raster Layer
13.Flood Fill Color #dfccbc
14.File - Open - Mask - GraphicsBeatrice
15.Layers- New Mask Layer - From Image
16.Layers - Duplicate
17. Layers - Merge - Merge Group
18.Blend Mode- Luminance ( Legacy) - Opacity - 76
19.Effects - Alien Skin Eye Candy 5: Impact- PerspectiveShadow- Drop Shadow / Blurry
20.File - Open -Deco - Sah Love Me Deco 1
21.Edit-Copy - Layers new raster layer
22.Effects - Alien Skin Eye Candy 5: Impact- Glass / Sah Love me 2
Activate pick tool

23.Effects - 3D Effects - Drop Shadow

24.Layers Duplicate
25.Image - Mirror - Mirror Horizontal
26.Image - Flip - Flip Vertical
27.Activate pick tool

28.Layers - Merge - Merge Down
29.Selections - Load / Save Selection - Load Selection From Disc -Sah Love Me Selection 2
30.Mark as in the image….

31.File - Open -Tube- Castorke_ tube56_ blome
32.Image - Resize

33. Copy - Paste As New Layer
34.Activate pick tool

35.Selections - Invert
36.Edit - Cut
37.Blend Mode - Luminance
38.Effects - Alien Skin Eye Candy 5: Impact / Perspective Shadow( Drop Shadow, Blurry)
39-Selections - Select None
40-Effects - 3D Effects - Drop Shadow

41.Effects - Flaming Pear- Flood

42.File - Open - Deco1EllyCreaties1532016@
43.Open Crop Tool(R)

44. Copy - Paste As New Layer
45.Image - Free Rotate

46.Open - Pick Tool(K)

47.Open - Deco-Sah Love Me Deco 2
48.Copy - Paste As New Layer
49.Pick Tool (K) - Blend Mode - Luminance ( Legacy)

50.Open -Deco- Sah Love me Deco 3
51.Copy - Paste As New Layer
52.Pick Tool (K) - Blend Mode - Luminance (Legacy)

53.Open - Tube - SvB Waterlelie op Blad @
54.Image - Resize

55.Copy - Paste As New Layer - Blend Mode- Luminance ( Legacy)
56.Pick Tool ( K)

57.Effects - Alien Skin Eye Candy 5 :Impact / Perspective Shadow( Drop Shadow, Blurry)
58.Open- Tube - 93_Femmes_Page7_Animabelle@
59.Image - Resize

60.Pick Tool (K)

61.Effects - Alien Skin Eye Candy 5: Impact / Perspective Shadow( Drop Shadow, Blurry)
62.Adjust - Sharpness- Sharpen
63.Open - Text-Sah Love me Text
64. Copy - Paste As New Layer - Blend Mode Screen
65. Pick Tool ( K )

Your work this way …

66.Image - Add Borders Pixels 1 Color #2d190c
67.Image - Add Borders Pixels 1 Color #dfccbc
68.Image - Add Borders Pixels 1 Color #2d190c
69.Image - Add Borders Pixesl 10 Color #dfccbc
70.Image - Add Borders Pixels 1 Color #2d190c
71.Image - Add Borders Pixesl 45 Color #dfccbc
72.Open - Magic Wand - Mark Last Edge
73.Effects - Filter Unlimited 2.0 - Filter Factory Gallery A - Spotlight

74. Selections - Select None
75.Open -Deco- Sah Love me Decoo 4
76. Copy - Paste As New Layer
77.Image - Add Borders Pixels 1 Color #2d190c
78.Add your signature to your work
79.Image - Resize - 900x550 ( Resize all Layers )
Save as Jpg

Test çalışması için Vahide Hocam'a çok teşekkür ederim.

Thank you very much, Lisette ...


Hiç yorum yok:
Yorum Gönder